- Email:info@gurug.com
- Phone: +1 334 446-5235
23 Feb

In this article, we will learn how we can use the temporary table as a form datasource in D365. In our scenario, we will populate the customer group information on our custom form init method and bind it with the clicked event on the All Customer form. We will populate the values of the selected customer at runtime
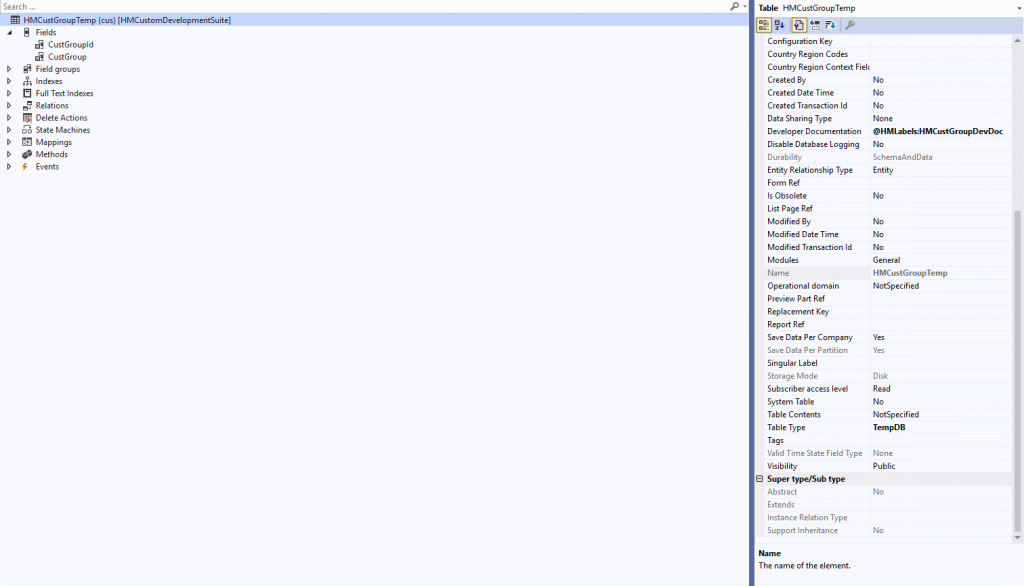
Step # 1: Create a new table of type TempDB and add the fields i.e., CustGroupId and CustGroup.
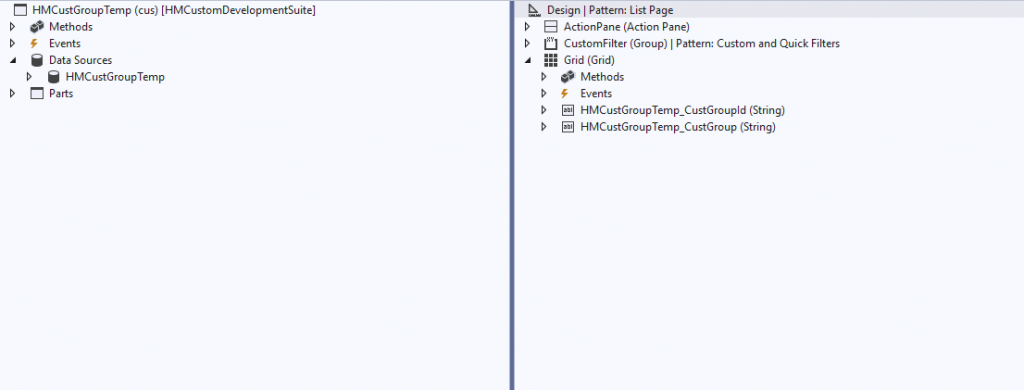
Step # 2: We will create a new form with the pattern (List Type), then add our previously created temporary table as a datasource, and then drag both the fields CustGroupId and CustGroup on the form grid part. After the form creation, we will also create the display menu item of type form and use our form on it.
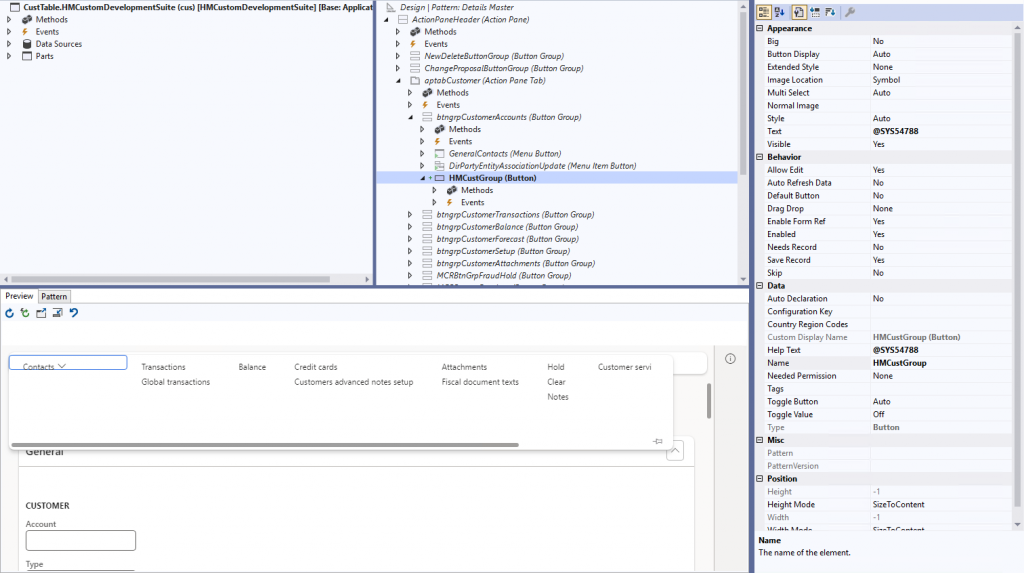
Step # 3: We will create an extension of the form ‘CustTable‘ and create a new FormButtonControl named ‘HMCustGroup’ in the button group ‘btngrpCustomerAccounts’.
Step 4: Now we will pass the customer records on the button clicked method. We will create the COC of the button clicked method. We will create a class extension of form control and pass the arguments to our custom form HMCustGroup.
[ExtensionOf(formControlStr(CustTable, HMCustGroup))]
internal final class HMCustGroupTemp_Extension
{
    public void clicked()
    {
        FormControl     formControl = any2Object(this) as FormControl;
        FormRun         formRun = formControl.formRun();
        FormDataSource  formDataSource = formRun.dataSource(formDataSourceStr(CustTable, CustTable));
        Args            args = new Args();
        CustTable       custTable;
        MenuFunction    menuFunction;

        next clicked();

        custTable = formDataSource.cursor();
        args.record(custTable);

        menuFunction = new MenuFunction(menuItemDisplayStr(HMCustGroup), MenuItemType::Display);
        menuFunction.run(args);
    }
}
Step 5: We will override the init method of datasource in our custom form to bind a temporary table to populate at runtime. Furthermore, I have used the code snippet below:
public void init()
{
    HMCustGroupTemp tempTable;
    CustTable       custTable;
    CustGroup       custGroup;
    super();

    if(element.args().menuItemName() == menuItemDisplayStr(HMCustGroup))
    {
        custTable = element.args().record();
        custGroup = CustGroup::find(custTable.CustGroup);

        tempTable.CustGroupId = custGroup.CustGroup;
        tempTable.CustGroup = custGroup.Name;
        tempTable.insert();

        HMCustGroupTemp.linkPhysicalTableInstance(tempTable);
    }
}
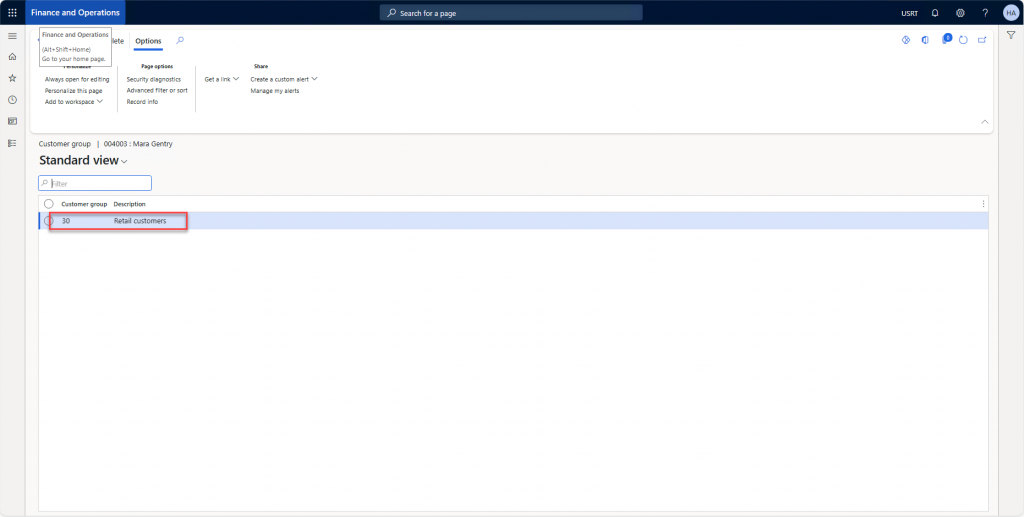
Result: After that, we build and synchronize the solution and test our final outcome.
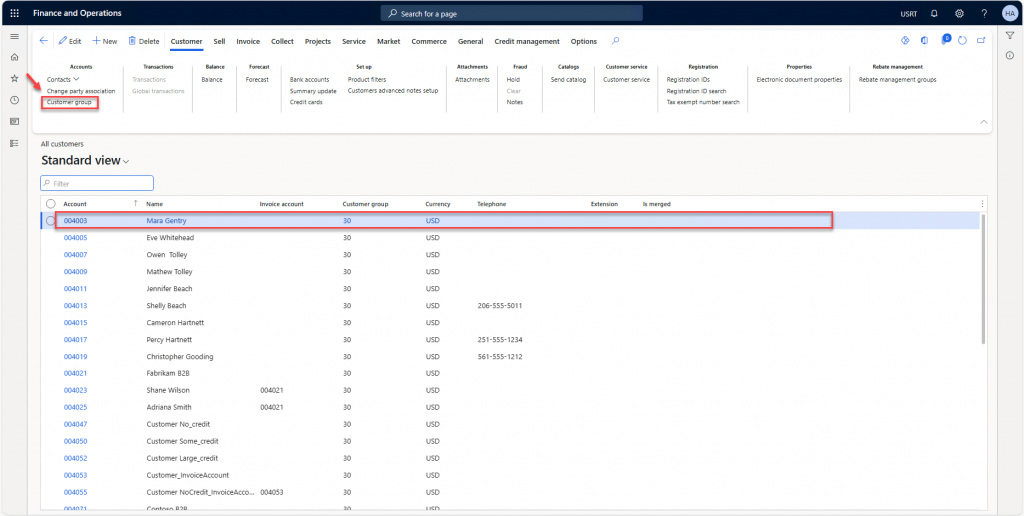
Navigation: Account receivable -> Customers -> All customers: Select a specific customer and press the Customer Group button, as we can see selected customer group is 30
As of now, we can see the ID and description of customer group ’30’ are populated on our custom form: